You’ve just sent in your Good Things merch enquiry. Our team will get back to you in a flash! Then the merch journey begins. Our sales team and account managers may use some merch terminology that you’re not familiar with. So we’re here to help you out!
We’ve collected our most common merch lingo here at Good Things to help you understand what we’re talking about.
The promotional merchandise production process terminology
When you’re starting up the discussion of merch, you’ll be talking about what products you’re interested in and where we’ll be sourcing them from. So you’ll be hearing words like local, offshore and custom VS stock. Thankfully we’ve already written a blog explaining the difference between custom VS stock, so give that a read. But as for the other terms, here’s a cheat sheet to reference when you get that response from your account manager.
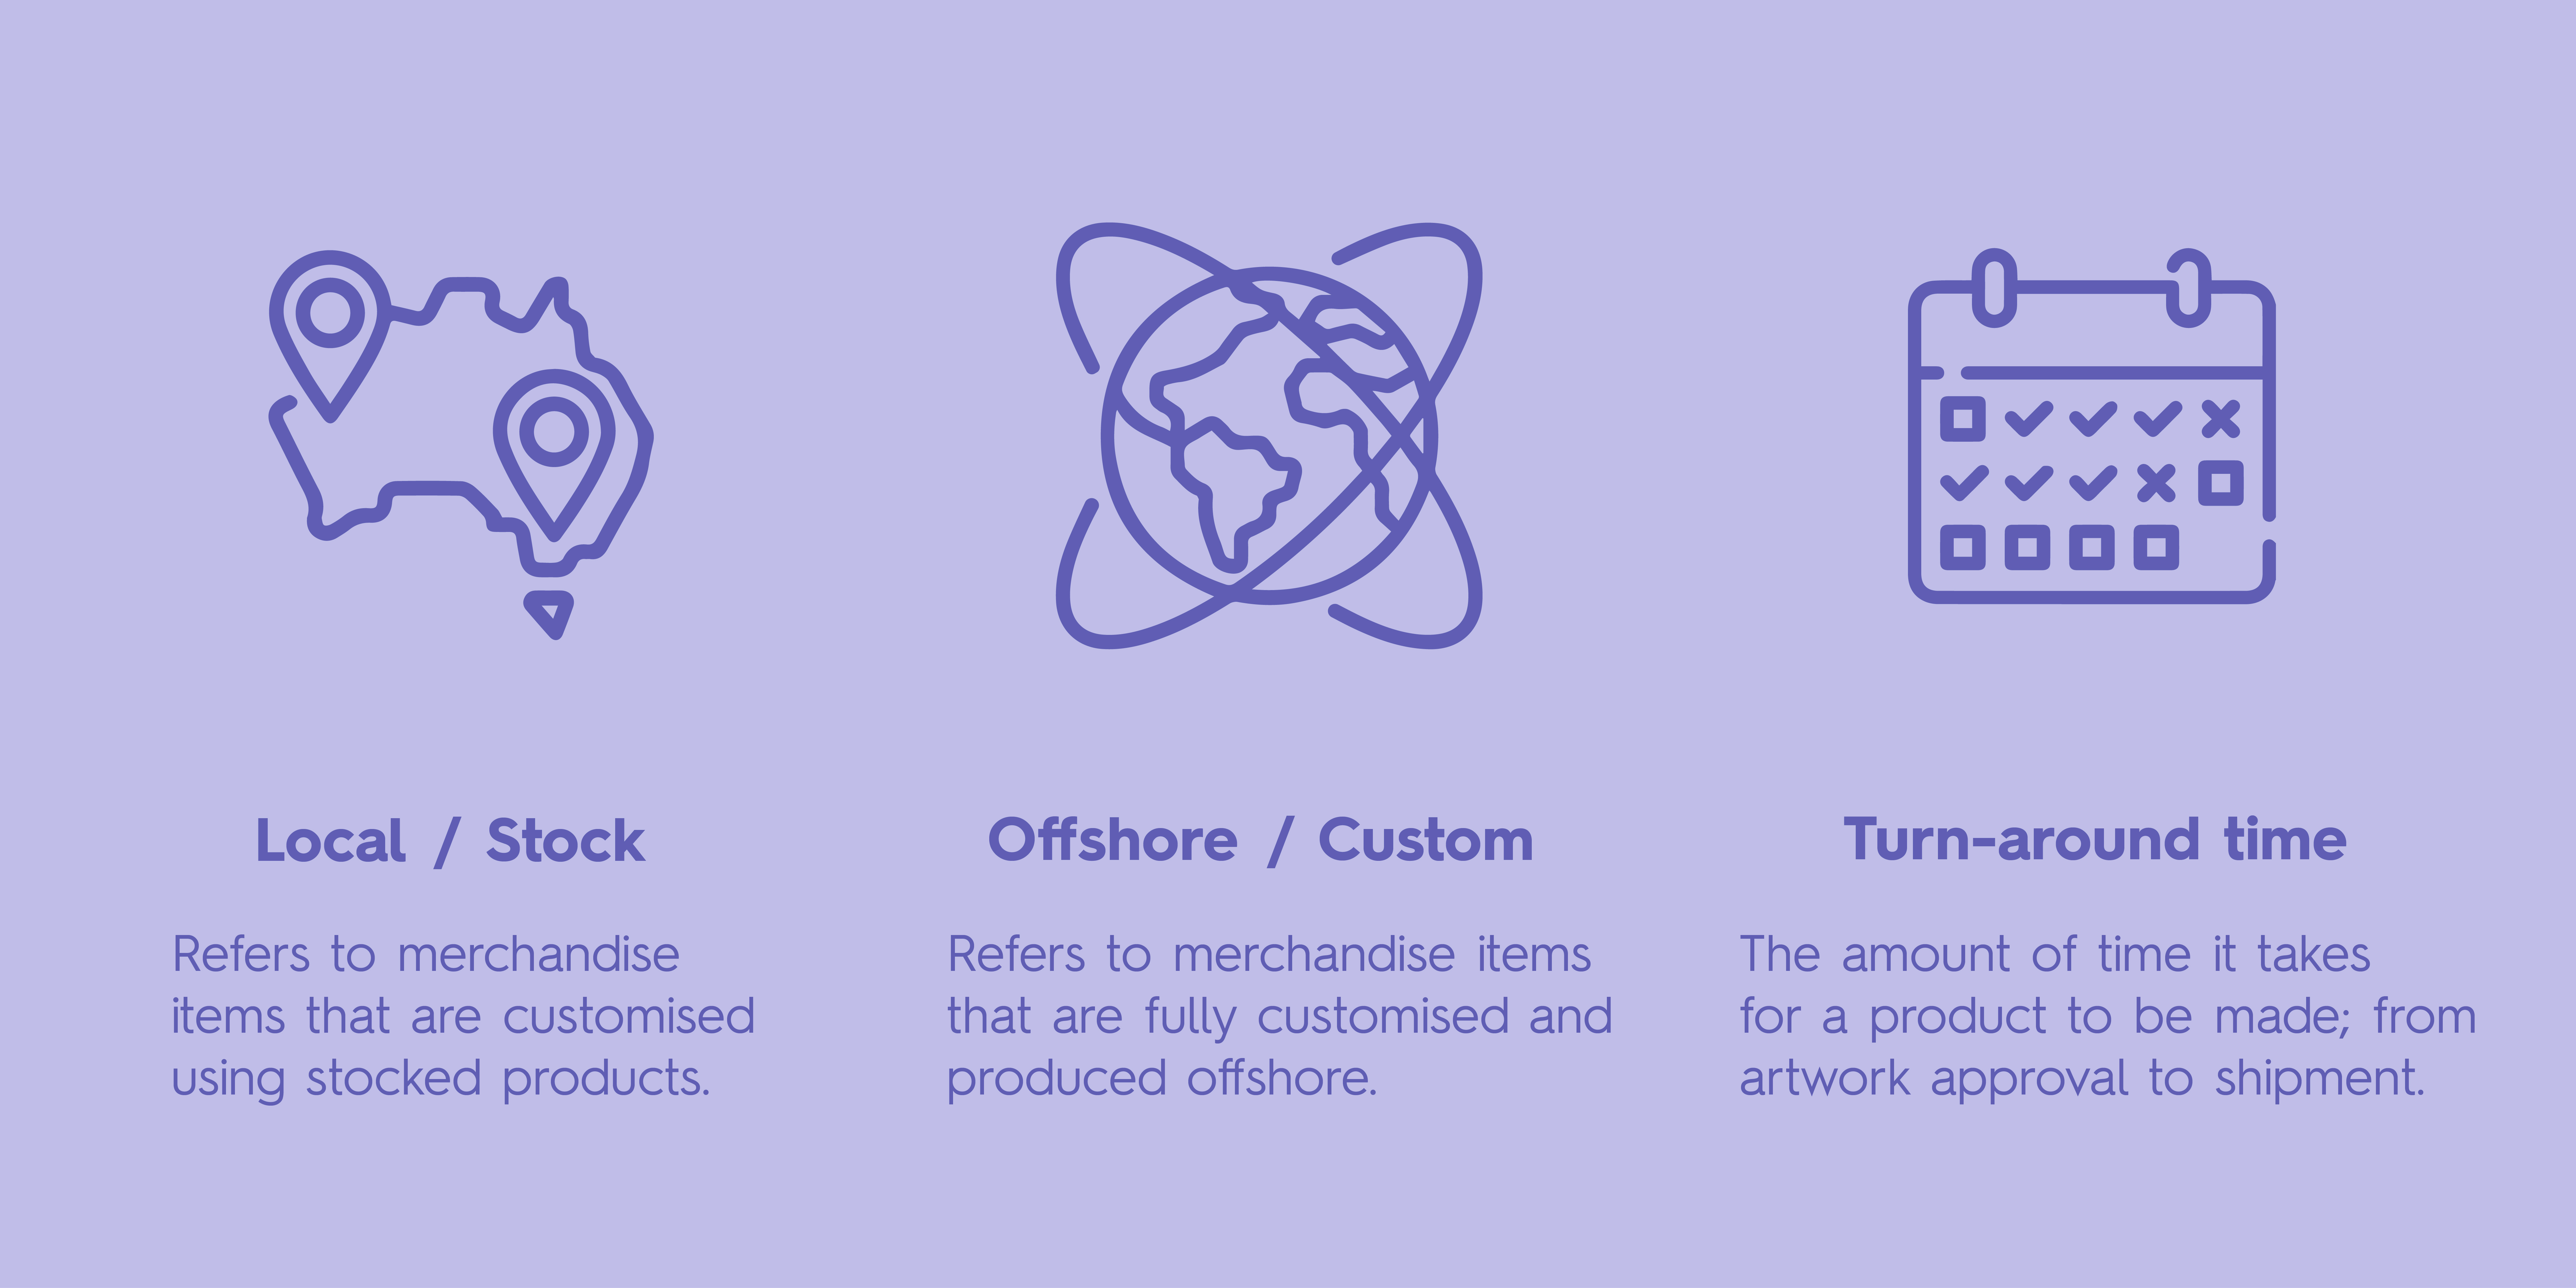
Local = this refers to the stock items we will source your merch from here in Australia
Offshore = this refers to the custom products that we can create for your brand outside of Australia; either in China, India, Vietnam, Indonesia, Europe or the USA.
Turn-around time = this phrase refers to how long it will take for the merchandise to be produced and delivered. This is measured from placing the order to when the order arrives at your doorstep.
Setting up your branded merchandise artwork
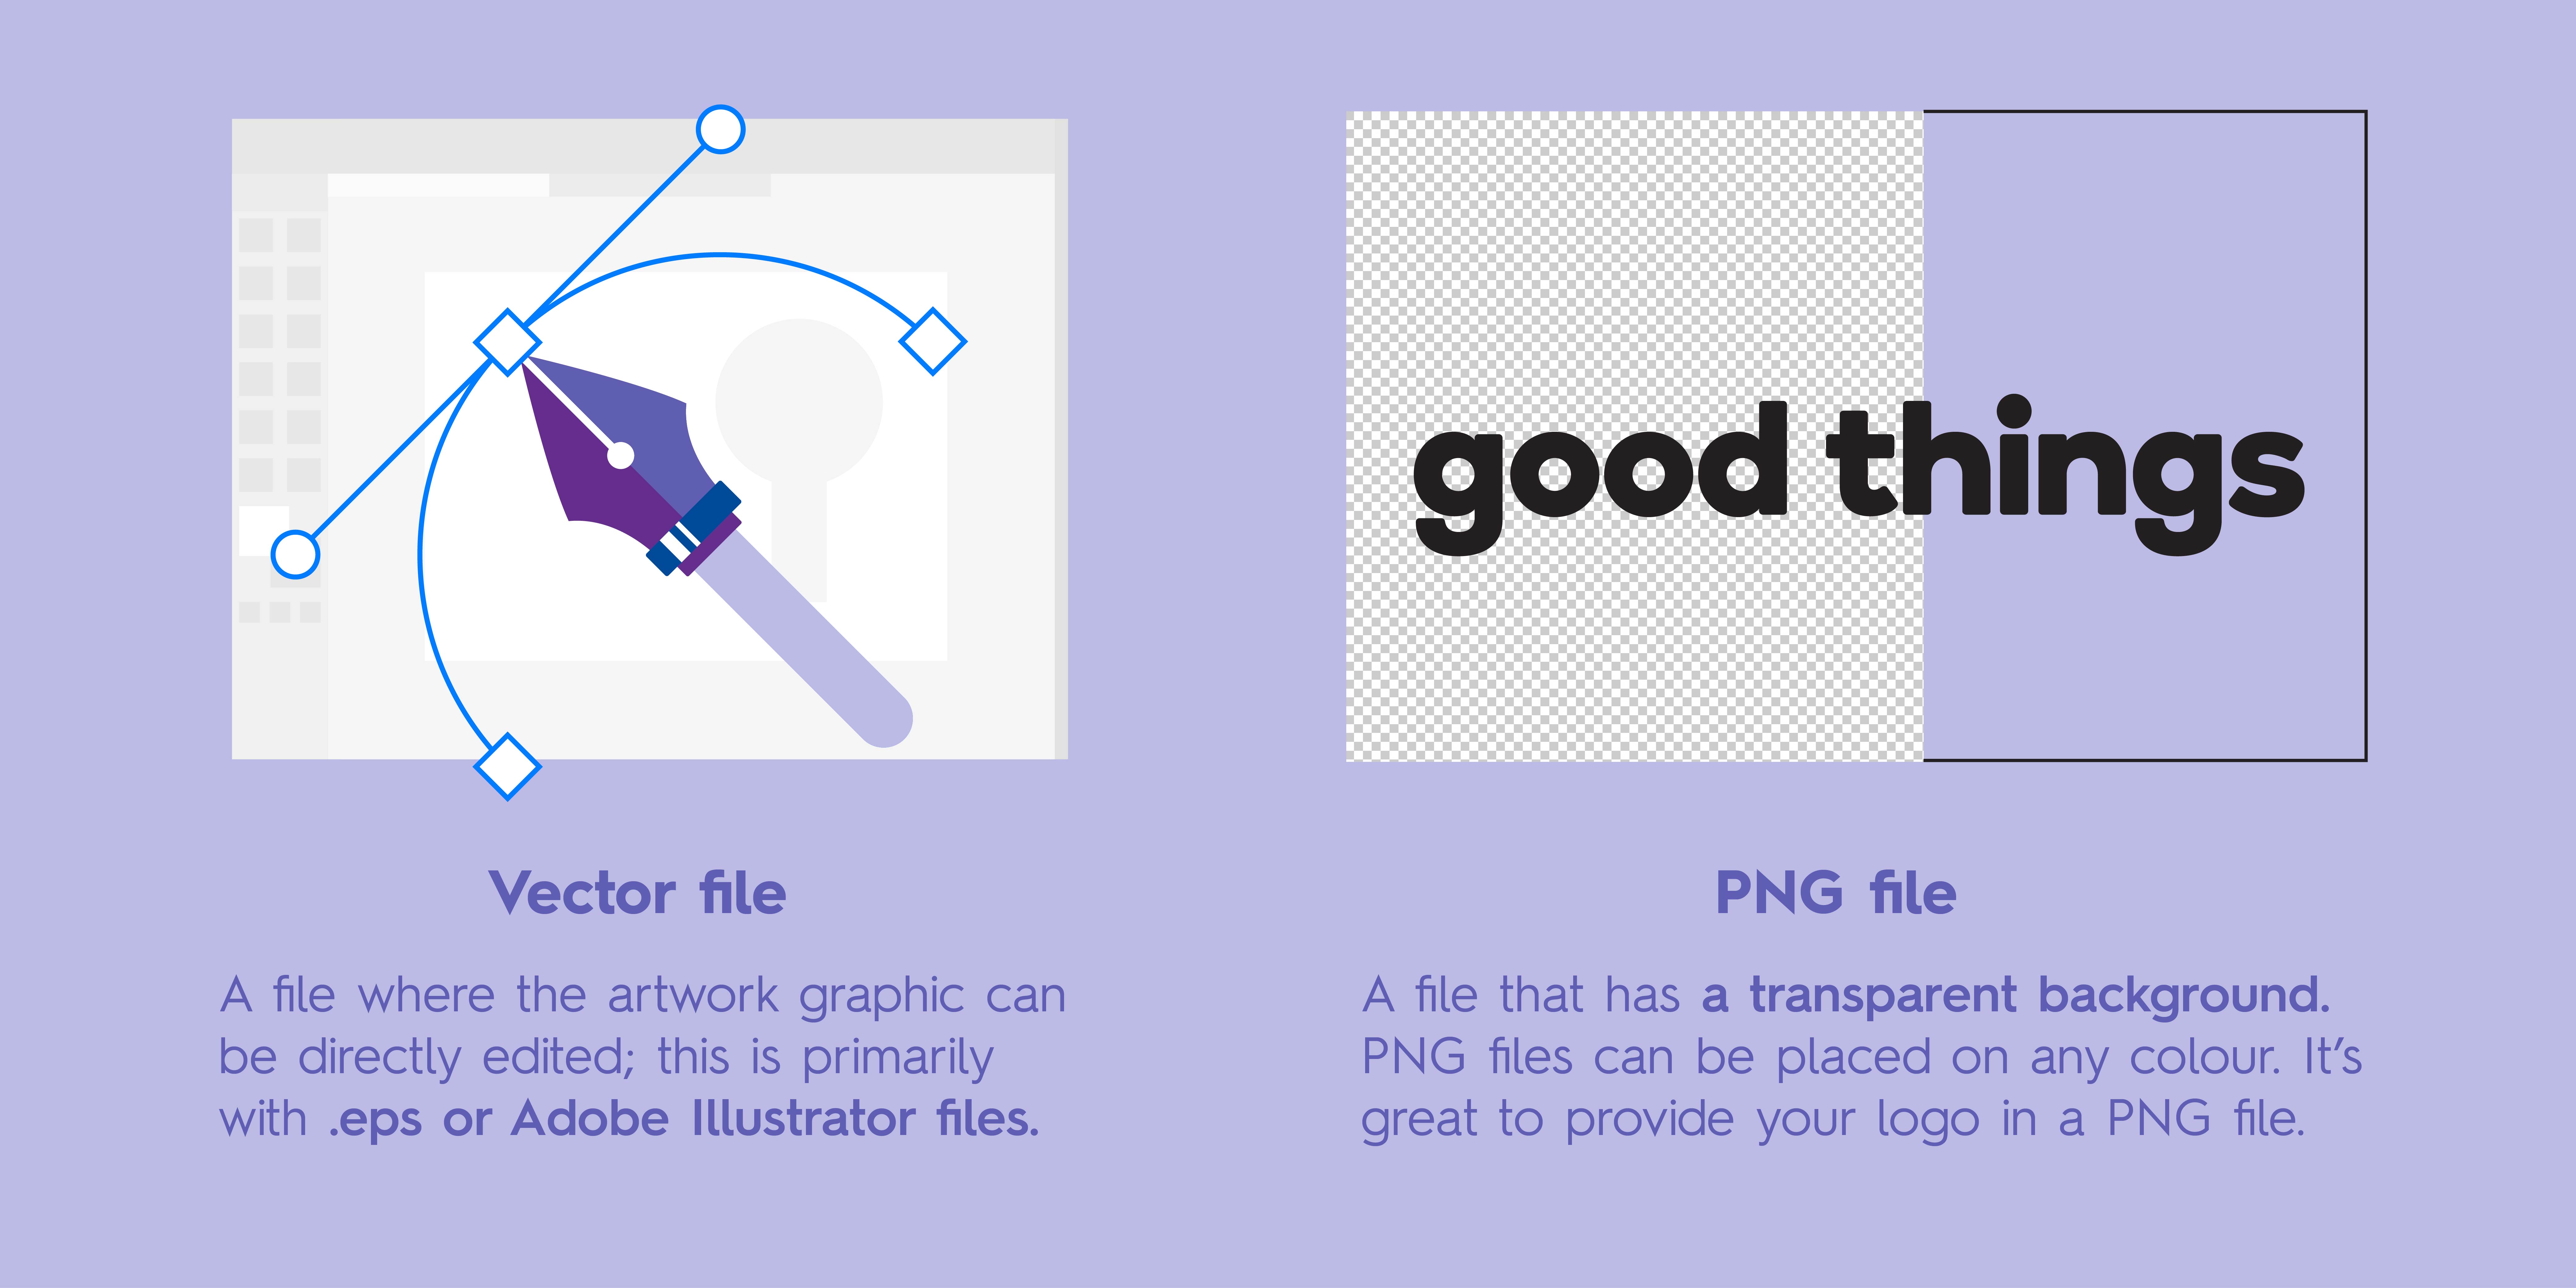
Vector file = A vector file is the type of file we sometimes require your artwork to be in. If you provide artwork in eps or Adobe Illustrator files (which are vector-based files) it means our design team can go into the working file and edit the design.
JPEG and PNG = These are two formats that artwork can be provided in which are flat files (cannot be edited). A JPEG is a common file for photo images. While PNG is great to use when you require a transparent background. For example, logos are often saved in PNG formats so that they can be placed on merchandise without a white background.
Set-up fee = This fee is additional to the total cost of units. The set-up fee exists because the print software machinery must analyse your logo/artwork to then accurately print/engrave/embroid onto the product.
Print area = When referring to the print area of a product, this is where your digital print, screen print, engraving or embroidery (whichever method of printing you choose) of your logo or artwork will appear.
Bleed area/marks = Although this sounds gruesome, it’s actually quite safe. The bleed area refers to the area of the product where your artwork needs to be placed at a maximum. This is so the print area is placed in the correct position and nothing important get’s cut off. This brings us to bleed marks. Bleed marks are little dotted lines showing where the bleed finishes. These are often seen on print-ready PDFs. Next to the bleed marks, you will see the trim marks.
Trim marks = These markings are where the artwork will be cropped or cut off depending on the type of promotional product it is. For example, if you were to get a custom tote bag with a full illustration, then there would be trim marks for where the fabric with then be cut and sewn together.
Screen print = Screen printing is when a logo or artwork is printed onto a product with one stamp. This required vector files and one colour.
Digital transfer print = Digital printing has no limitations on colour and can be a vector file, PDF or other images. However, with a digital print, sometimes the print area can be smaller compared to the screen print area.
So next time…
When you make your next merch enquiry to our Good Things sales team, you’ll be able to understand what they’re talking about and what they’re asking of you. Whether it’s a PNG logo with a transparent background, or whether you’re discussing getting a custom piece of merch versus a locally stocked item, you’ll be able to understand everything we’re referring to. You’ll be a merch lingo pro in no time!
 Australian-Owned


